

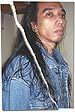
 Photoshop tutorials, which is now an example to show the image design, as an example of the effect of making the images. The aim is to create images that effect terobek part. In this picture I use my own photos is still long and shaggy first time (around the end of 2005). I started to lengthen hair after graduating from college, married and want a new haircut. This photo I took with a tripod in the room.
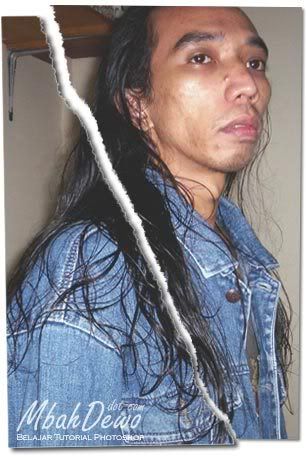
In this image, the image I cut into two parts with the selection and location changed so starkly separate layernya. To make the effect more dramatic effect I gave a clue.
Creating Effects Step Photo tear
Step 1
Open the image that you will be processing with Photoshop.

Step 2
Make a selection on the image using a lasso tool. Make a selection to cut some of the pictures up to one edge details can be seen in the pictures illustrated tutorial below.

Step 3
Save the results of selection, by selecting the menu Select> Save Selection.

Langkah 4
Pilih channel hasil seleksi pada palet channel.
Step 5
Select the menu Filter> Pixelate> Crystalize. Enter the value 3 (size can be adjusted itself, but if the slider movable minimum stay only 3). Click OK. The goal is to make the step edge selection is not the average automatically.

Step 6
Click the icon Load channel as selection.

Step 7
Click the RGB channels. Step 6 and 7 of this objective that we return to the channel as early but already has a selection that is not average.
Step 8
Press Ctrl + J, the objective to create duplicate the results of the selection of pieces.
Step 9
Click the Background layer (which is still the original image and the hoof). Press Ctrl + J. This will create a layer Background copy.

Step 10
Ctrl + click on the name of layer 1 (which is the result of a reduced layer). Layer, which is still active in the Background copy layer.
Step 11
Now press the Delete button. This is to clear the area in the selection. Then lose the selection, by choosing the menu Select> Deselect.
Step 12
Click or select the Background layer. Fill this layer with white. How to choose the Edit menu> Fill. On the Use = White, opacity = 100%.

Activate or select layer 1. Set the size and position by selecting the Edit menu> Free Transform. Similarly, Background layer copies.

To increase the effect of the results of rags, can the shadow effect. In this tutorial I use Photoshop Layer> Layer style> Drop shadow.

Note: If you want the whole picture can be displayed so that the terputar in step 13 was not visibly cut, how do you select the menu Image> Reveal All. Here are the results of the making of effeithiau image photo tear.
 Print this page


0 Response to 'Example effects torn photos'
Posting Komentar